Floodplain Cross Section Editor#
The floodplain cross section editor is used to set up the FPXSEC.DAT file. This section will describe how to digitize and schematize the data.
Use the editor widget to create the cross section.
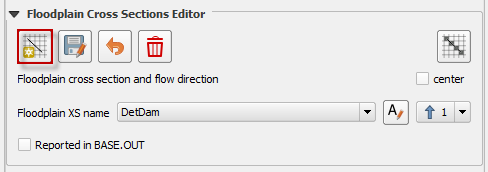
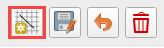
Click the floodplain cross section button.
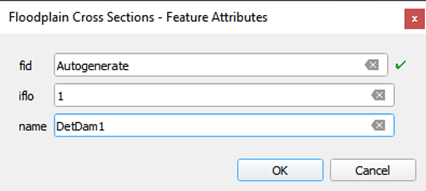
Digitize the cross section and fill the dialog box. Click OK.
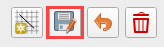
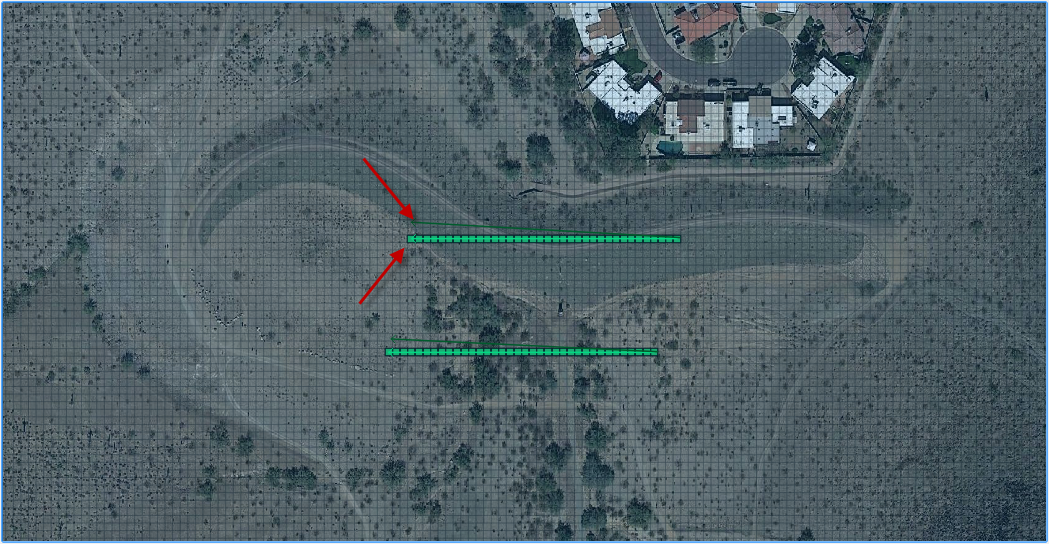
Click save to preserve the data. The user cross section is a green line.
Check the editor and make any adjustments necessary.


Click Schematize to save the data. The schematized cross section is corrected to meet the FLO-2D criteria for Floodplain cross sections.

Troubleshooting#
Make sure the cross-section lines are within the grid system.
If copying cross section data into the layer, make sure the FID is numbered 1 to n number of cross sections.
Make sure the iflo is assigned to a number 1 – 8 that is a flow direction most perpendicular to the polyline.
Try to make the lines horizontal, vertical or diagonal to the grid elements. If the line is not very close to the grid alignment, the intersector may have trouble finding the correct alignment.
Use the Velocity Vectors from Mapper or Crayfish to help set up the line. Place the lines in a location where all flow crosses the line. Do not place the line where flow is parallel to the line.